How to Build a Small Animal Playground with Everyday Items
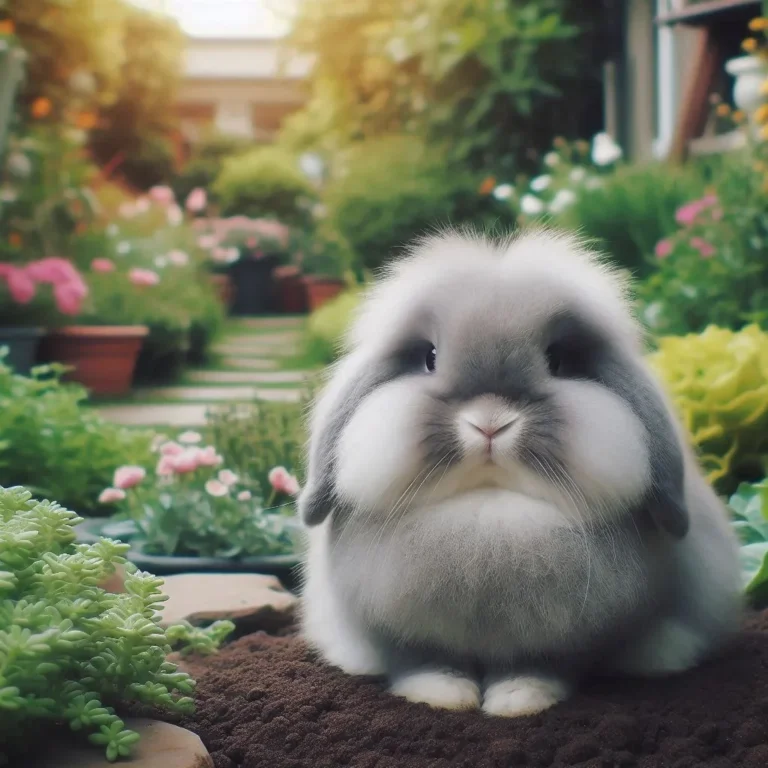
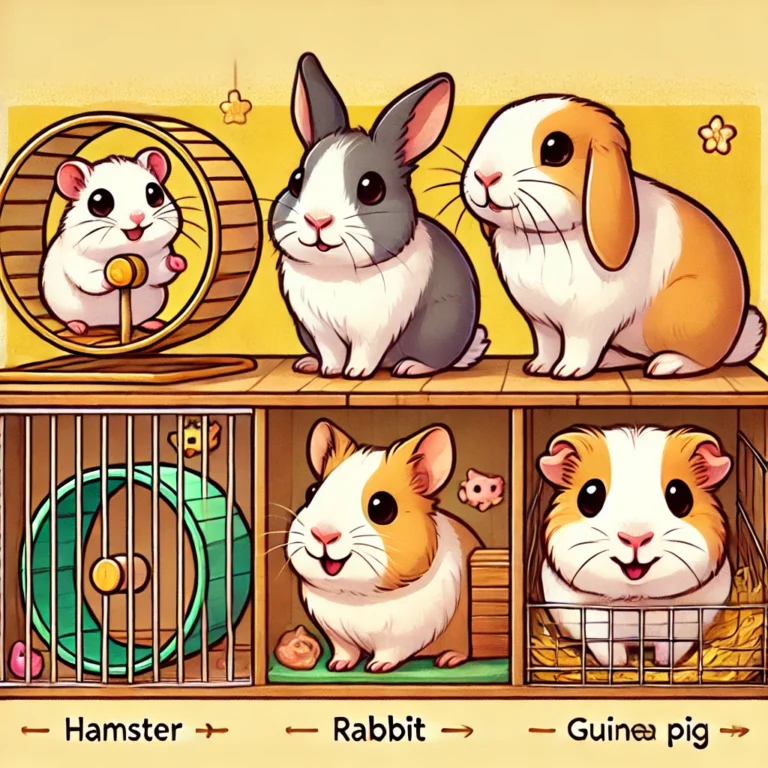
When you think about a playground, you might picture jungle gyms and slides for toddlers. For our small animal companions—hamsters, gerbils, guinea pigs, and even rabbits—play is just as vital. Their playful instincts improve physical health, reduce stress, and create bonding moments for both pets and owners.
Building a playground using everyday items isn’t only inexpensive; it also allows you to customize the space to your pet’s specific species, size, and activity level. In this guide, we’ll walk you through the essential steps, safety guidelines, and creative ideas that make a functional and engaging play area for your tiny friend.
1. Choosing the Right Space
Below are key considerations when picking a location for your small animal playground:
- Flat, stable floor: Avoid carpets that may trap debris. A hardwood or tile surface is ideal for easy cleaning.
- Quiet corner: Keep the area away from high traffic zones to reduce noise and stress.
- Ventilation and natural light: Good airflow prevents overheating. A sunny spot, but not direct heat, is perfect.
- Accessibility: Ensure you can reach all parts for cleaning and maintenance.
Using the American Veterinary Medical Association’s guideline on indoor environment design (source: AVMA) will help you create an optimal space for both comfort and health.
2. Planning the Layout
A well‑structured playground improves mental stimulation. Here’s a simple layout plan:
2.1 Play Zones
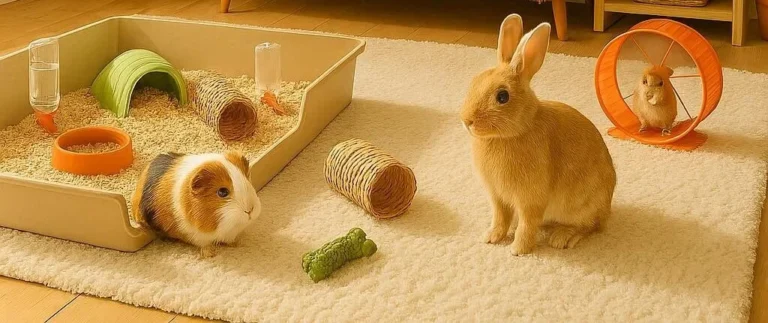
- Exercise area: Include a small wheel or climbing tunnel.
- Hide and seek spots: Create mini‑caves or backpack shelters.
- Interactive toys: Use nesting materials or chew‑safe objects.
2.2 Pathways
Keep pathways clear and wide enough for your animal’s quick bursts of energy. Rubberized mats or recycled carpet strips can act as non‑slip tracks.
3. Gather Everyday Materials
You can turn common household items into fantastic play tools. Here’s a consolidated list:
| Item | Purpose | Notes |
|——|———|——-|
| Cardboard boxes | Play tunnels and shelters | Small, perforated boxes are ideal, remove any staples or sharp edges |
| Old T‑shirts or towels | Bedding and floatables | Use soft, horse‑hair‑free fabrics to avoid ingestion |
| Egg cartons | Hideouts | Keep them clean; consider refill with shredded paper |
| Rubber or plastic wheels | Exercise | Ensure wheels have no small swirls that could be chewed |
| Plastic bottles | Vibration toys | Remove caps to avoid choking hazards |
| Rubber bands | Chewing toys | Cut into manageable sizes |
| Popsicle sticks | Structural support | Excellent for building low walls or platforms |
For safety verification, consult resources like PetMD (source: PetMD) which provides a checklist of materials safe for small animals.
4. Building Your Playground
Step‑by‑step instructions help you avoid common mistakes like using toxic adhesives or sharp edges.
4.1 Constructing a Cardboard Tunnel
- Select a box with flaps that can easily open and close.
- Cut a small hole in the side for access, then reinforce the edges with a strip of soft fabric or a ring of rubber bands to eliminate sharp corners.
- Line the tunnel with shredded old T‑shirts. This gives a soft surface and reduces static buildup.
- Secure the tunnel’s base with carpet tape to keep it upright.
4.2 DIY Mini‑Springs
- Place a plastic bottle filled with a small amount of sand, then seal the top with a rubber band.
- Attach a thin rope and insert it into a cardboard tube—set an elastic tension so that when the animal pulls the rope, the bottle gently deflects.
- Test the device to ensure the spring action is mild; strong vibrations can distress small animals.
4.3 Soft Pathways
Use felt or a small piece of rubber flooring. Slide the surface over the base so your pet’s paws won’t slip.
5. Safety First
A safe playground requires a few critical check‑points:
- Supervise for 24 hrs during the first week. This helps catch any unforeseen hazards.
- Secure loose items: Small animal toys can become choking hazards if broken.
- Avoid adhesives like white glue or super glue; opt for silicone or hot glue guns if necessary—always check for toxic fumes.
- Check temperature: Ensure the area never exceeds 25°C (77°F); use a thermometer if needed or relocate the playground during hot days.
According to the Small Animal Veterinary Association (source: SAVA), these measures significantly reduce injury risk.
6. Enrichment Tips for Maximal Engagement
Enrichment isn’t limited to architecture. Introduce sensory stimuli:
- Food puzzles: Use a Wobble Ball or a homemade clay brick filled with kibble.
- Rotating toys: Every few days, swap out a tunnel for a new chew‑safe item.
- Smell trails: Sprinkle harmless herbs (like dried rosemary) along the route to lure exploration.
- Visual distractions: Hang a small, dangling butterfly sticker—ensure it’s safe and monitor interaction.
Remember to keep enrichment varied; monotony can lead to boredom and self‑harm behaviors.
7. Cleanliness & Maintenance
Clean the playground weekly to keep viruses and parasites at bay.
- Floor cleaning: wipe down with a mild, pet‑friendly disinfectant. You can use diluted vinegar (1 part vinegar to 4 parts water) if you prefer natural solutions.
- Toy sanitation: Hot‑wash fabric pieces, and rinse items made of plastic or rubber thoroughly.
- Check for wear: Replace any torn cardboard or frayed rope immediately.
According to the Veterinary Medicine Resource Center (source: VMC), routine cleaning prevents fungal outbreaks in small animal habitats.
8. Connecting With Other Pet Owners
Sharing designs and tips on pet forums can spark new ideas. Example communities include:
- Reddit’s r/smallanimals
- Facebook groups such as “Guinea Pig Playtime”n- The Small Animals section on Petful
These networks often feature user‑tested modifications tailored to specific species or sizes.
9. Quick FAQ
| Question | Answer |
|———-|——–|
| Can I build a playground in the bedroom? | Yes, as long as the space is safe from allergy triggers and remains a quiet zone during naps. |
| What are the best materials for a hamster? | Cardboard tunnels, food‑filled egg cartons, and small, plain wheels. Avoid bright, reflective surfaces. |
| How often should I change the bedding in the playground? | Every 2–3 days to keep the area sanitary, especially if multiple animals share the space. |
10. Conclusion & Call to Action
Crafting a small animal playground from everyday items proves that creativity, care, and a bit of research go a long way in enhancing your pet’s well‑being. By selecting safe materials, organizing a thoughtful layout, and maintaining hygiene, you create a sanctuary that encourages healthy play, reduces stress, and strengthens your bond.
Now that you’ve got a solid framework, it’s time to put your animal’s imagination to work. Snap a photo of their first sprint through the cardboard tunnel and share it on social media with #DIYAnimalPlayground. Let everyone know how a little ingenuity can transform a plain corner into a lively, safe playground.
Happy building—and enjoy watching your furry friend explore their brand‑new world!