Building Small Pet Playgrounds With Everyday Items
Welcome to the ultimate guide for pet owners who want to transform the space around your small pets into a safe, engaging playground—without buying expensive equipment.
This post gives you step‑by‑step instructions, design ideas, and research‑based tips on how to use everyday household items to create a stimulating, durable, and animal‑friendly play area.
Why Small Pet Playgrounds Matter
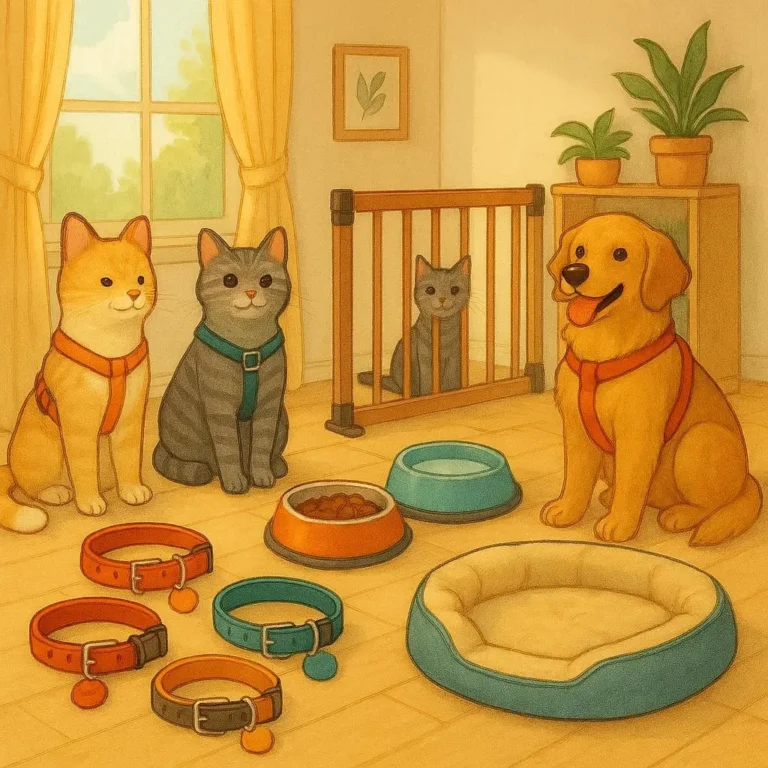
Small pets such as cats, guinea pigs, hamsters, and even small dog breeds thrive on interaction, exercise, and mental stimulation. According to the American Veterinary Medical Association, a playful environment reduces stress, prevents obesity, and promotes lifelong health.
Creating a dedicated play space:
- Controls boredom – Bored pets can develop destructive behaviors.
- Encourages physical activity – Helps maintain healthy weight and joint function.
- Feeds mental needs – Interactive play triggers natural hunting, climbing, and problem‑solving instincts.
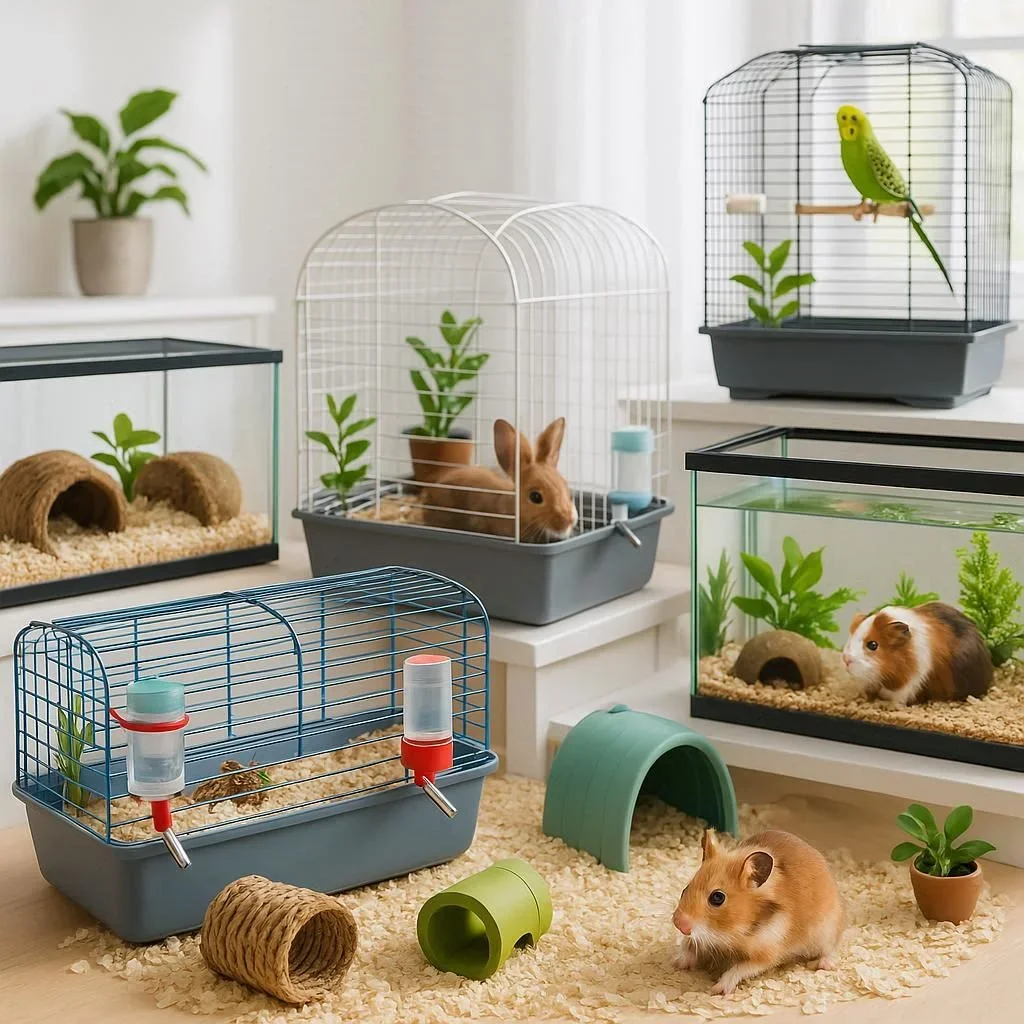
Planning Your Play Area: Size & Safety First
1. Measure the Space
Begin by measuring the dimensions of the room or area where you plan to set up the playground. Use a tape measure to determine the length, width, and available ceiling height.
2. Choose Furniture & Layout
- Furniture‑based Play – Stack sturdy boxes or use low shelving units for climbing and exploration.
- Open‑Space Zones – Allocate a clear area for running, digging (for burrowing species), or jumping.
3. Check for Hazards
- Remove small objects that could be swallowed.
- Ensure all wires or cords are hidden or insulated.
- Keep food and cleaning supplies out of reach.
DIY Play Structures Using Everyday Items
A. Cardboard Boxes: The Ultimate Climbing & Scratching Platform
- Selection: Choose boxes of varying sizes and shapes.
- Assembly: Stack side‑by‑side to form shelves; for extra stability, tape corners or use a rubber band around overlapping faces.
- Decoration: Cover with fabric or durable paint to add a personal touch.
Cardboard boxes are inexpensive, lightweight, and highly adaptable. They also double as hiding spots and puzzle feeders.
B. Tension‑Wire and Rope Hangs
- Materials: Grab sturdy coat hangers or repurpose old curtain rods.
- Attachment: Secure at each end to sturdy furniture or studs. Drape a rope or thin string across the span to create a “cradle”.
- Safety Tip: Ensure the rope is made of natural fibers like jute or cotton, which are easier for pets to chew and less likely to fray.
These simple hanging elements add an interactive layer and can be used to lure pets into climbing or scratching exercises.
C. DIY Tunnel from a Laundry Basket or T‑Shirt
- Method: Line up laundry baskets side by side, securing them with furniture straps or rubber bands.
- Alternative: Tape multiple old T‑shirts to create a makeshift tunnel.
- Benefits: Tunnels stimulate sniffing drives and provide a safe retreat space.
D. Recycled Plastic Bottles as Chew Toys
- Preparation: Remove caps and cut the bottom off to expose the narrow segment.
- Inserting Treats: Use a small rubber tube to hold treats inside.
- End Result: The pet must gnaw or roll the bottle to access the reward—a mental workout.
Recycling adds a green twist to the playground and keeps waste minimal.
E. Floor Mat and Soft Bedding Zones
Lay down a rubber or rubberized mat to protect flooring and provide a non‑slip surface. Add soft bedding—old towels or fleece blankets—to create a comfortable lounge area.
Enrichment Activities to Include
1. Puzzle Feeding
- Box Puzzle: Place treats in a creaking box that opens with a push.
- String Retrieval: Tie a small toy to a string and let your pet chase it.
2. Training Zones
Design a corner with small cones or markers where you can practice tricks or obedience commands.
3. Interactive Games
- Hide & Seek: Hide in a box and call the pet to find you.
- Catch: Use a lightweight balloon or rubber ball for gentle tossing.
Tips for Maintaining a Clean & Safe Playground
- Daily Check: Inspect for frayed edges, loose wires, or sharp corners.
- Regular Washing: Wash fabric coverings or bedding at least once a week.
- Rotate Toys: Keep their interest high by swapping out items regularly.
- Use Pet‑Safe Materials: Avoid PVC or untreated woods that can splinter.
Resources & Further Reading
A Quick Checklist Before You Start
| Item | Check | Notes |
| Space measurement | ✔️ | Use a tape measure and record dimensions |
| Furniture stability | ✔️ | Ensure shelving units are locked or secured |
| Safety hazards | ✔️ | Remove choking hazards and cover sharp edges |
| Cleanliness plan | ✔️ | Schedule daily checks and weekly deep cleans |
Conclusion & Call to Action
Crafting a small pet playground with everyday items is not only budget‑friendly; it’s a creative way to bond and enrich your pet’s life. By repurposing household products, you can provide a dynamic environment that encourages healthy habits, reduces stress, and promotes independence.
Take the first step today: Choose one simple item—perhaps a cardboard box—and transform it into a climbing and hiding haven for your furry friend. Once they’re enjoying the new space, consider adding more features from our guide.
Tell us about your DIY playground in the comments below or share photos on Instagram with the hashtag #PetPlayDIY. Let’s inspire each other to create happier, healthier homes for our tiny companions.
Your pet’s next adventure awaits—build it with love, imagination, and everyday items!