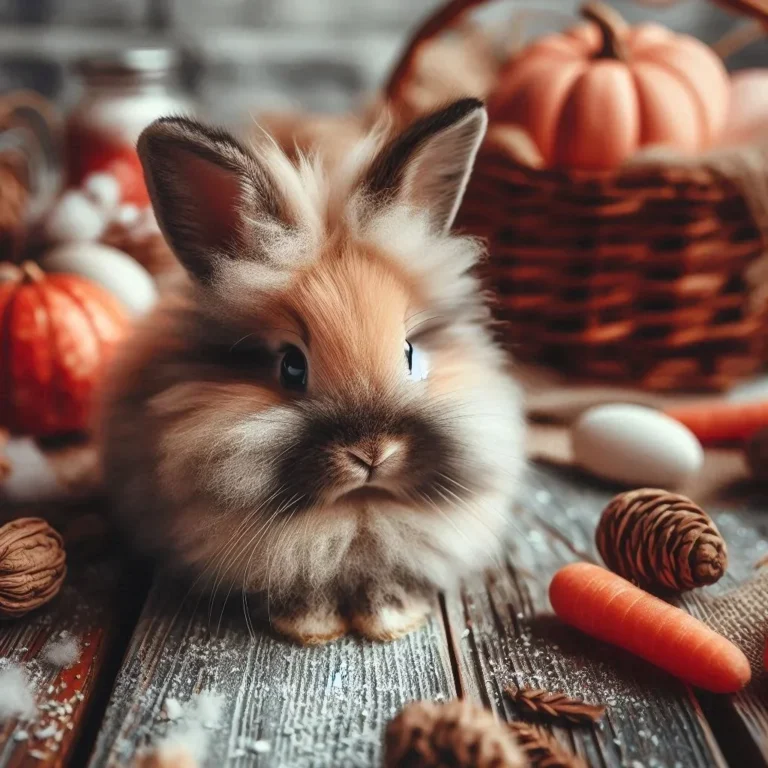
Photographing Your Small Pet
Photographing Your Small Pet can feel intimidating, but with the right techniques, anyone can capture stunning, cinematic shots that showcase personality and charm. The key is understanding light, composition, and the unique quirks of small animals. By paying attention to these fundamentals, you’ll elevate your photos from cute snapshots to professional‑level portraits that stand out on social media or in a printed album.
Photographing Your Small Pet: Lights, Camera, Action
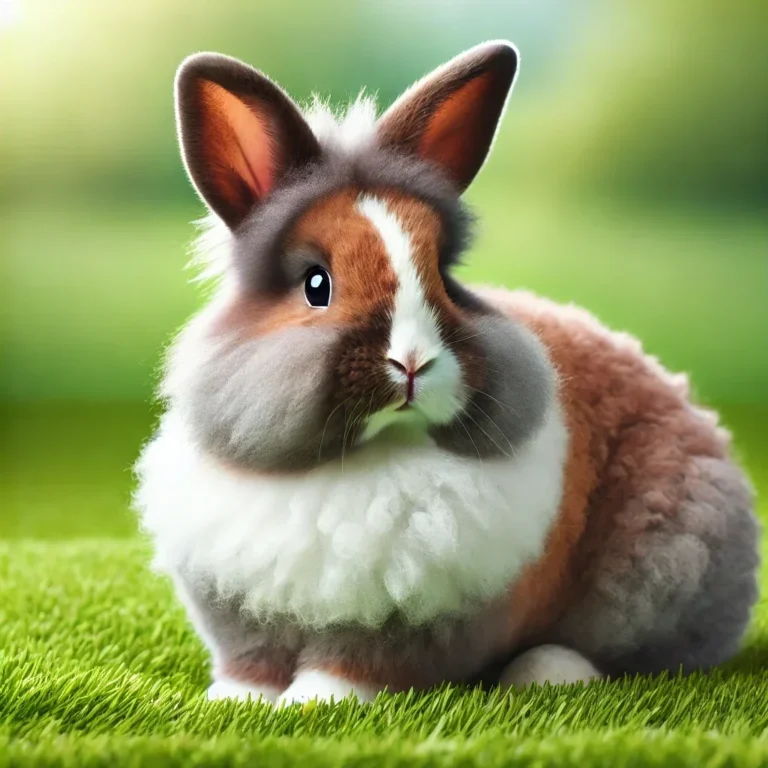
Lighting often dictates the mood of a photo. For small pets, natural light is your best ally because artificial lighting can create harsh highlights that distract from the pet’s features. The golden hour—one hour after sunrise or before sunset—offers soft, diffused illumination that brings out warm tones in fur and minimizes unflattering shadows. Whenever possible, position your pet near a large window or outdoors in overcast conditions for evenly balanced exposure.
- Rule of Thirds: Position your pet in one of the grid intersections to create balance.
- Depth of Field: Use a wide aperture (f/2.8–f/5.6) to blur the background and isolate the subject.
- Color Temperature: Adjust white balance to match the light source—6500K for daylight, 5500K for shade, or preset “cloudy” on most DSLRs.
For those who prefer a more styled look, a reflector or a diffuser can soften harsh sunlight. Reflectors are inexpensive yet powerful, and many manufacturers sell adjustable panels that can be positioned to bounce light onto the pet’s face.
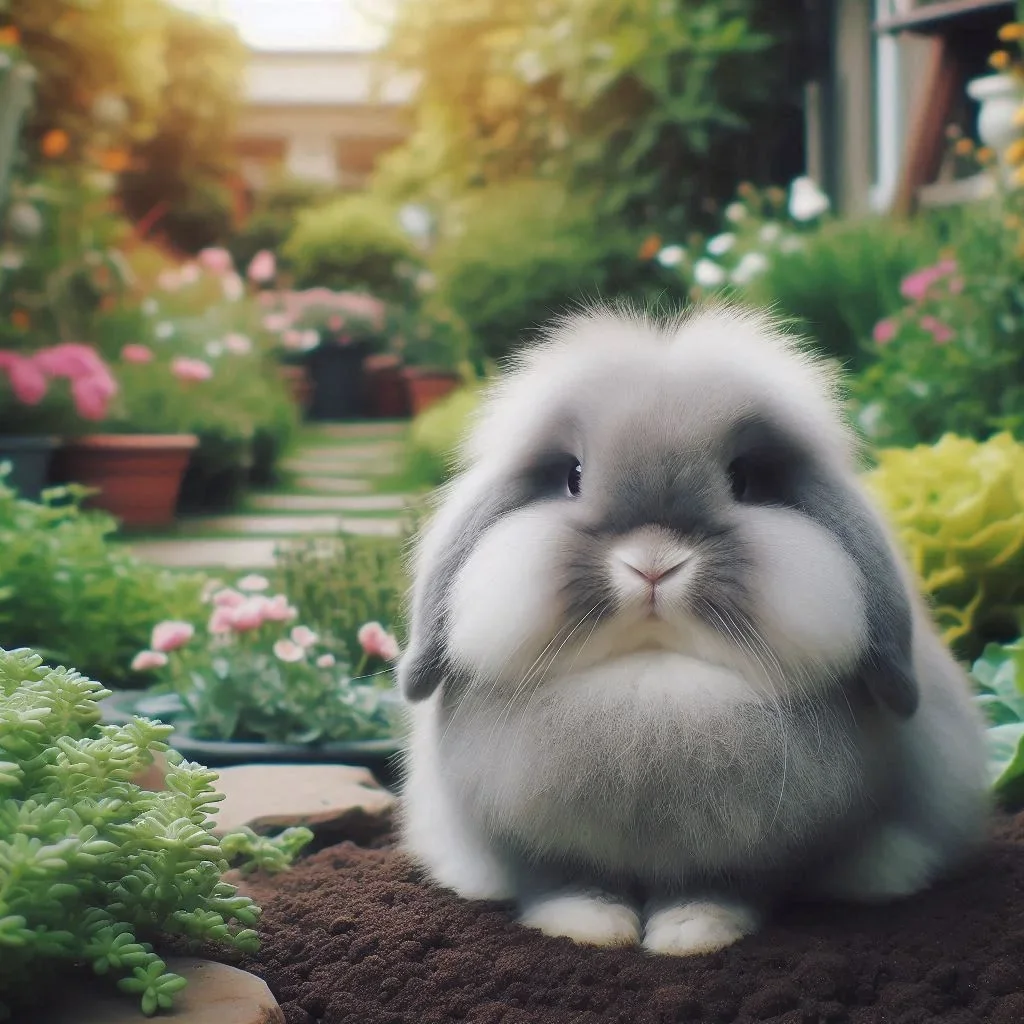
When to Capture: Photographing Your Small Pet in the Golden Hour
Timing is everything. Cats may be more active after dusk, while small dogs often have an extra burst of energy in the late morning. A quick observation—watch the pet’s breathing and eye movements—to gauge when they are most relaxed and alert. Patience rewards you with the perfect expression.
Keep a low ISO (ISO 100–400) to reduce noise, especially if you’re shooting in low light. If the pet is active, use a shutter speed of 1/500s or faster to freeze motion. When you need a slight blur to convey movement, a slower shutter (1/30s) can create a dynamic effect.
Remember that small pets often possess quick reflexes. The Cornell University research shows that sudden movements trigger a startle response. When photographing, try to create a routine—such as a gentle tap of a toy or a familiar cue word—to capture consistent expressions.
Gear Up: Photography Essentials for Photographing Your Small Pet
While a smartphone can yield impressive results, a dedicated camera paired with versatile lenses gives you full creative control. Below is a quick reference table to help you choose the right equipment:
| Equipment | Why It Matters |
|---|---|
| DSLR or Mirrorless Camera | Fast autofocus and interchangeable lenses. |
| Prime Lens 35mm‑50mm | Natural perspective and wide aperture for shallow depth. |
| Macro Lens 85mm‑105mm | Close‑up detail of whiskers, eyes, and paws. |
| Portable Reflector Set | Softens shadows without additional lighting. |
| Tripod | Stability for long exposures and steady framing. |
In addition to hardware, invest in a sturdy pet harness or lightweight carrier that keeps your animal in place while still allowing natural movement. Some photographers also use a small handheld radio to control a remote shutter release, preventing camera shake during close‑up shots.
Editing for Impact: Post‑Processing Tips for Photographing Your Small Pet
After the shoot, the best images are often polished in post‑processing. Start with basic corrections—crop, straighten, adjust exposure, and apply a selective color balance to enhance fur tones. Photoshop or Lightroom are popular choices; many mobile apps also offer robust editing tools.
When color grading, avoid oversaturation. The American Veterinary Medical Association notes that hyper‑colored fur can misrepresent a pet’s natural appearance and may be off‑spec for breed standards. Use a subtle “vignette” to draw attention to the pet’s face.
Finally, consider a high pass filter to sharpen fine details like whiskers or tail quills. A gentle noise reduction step ensures that the final image looks clean, especially in low‑light scenes. Export the finished image in high resolution (1200 dpi) for prints or 1080 p for online sharing.
Conclusion Photographs that capture the spirit of your small pet are produced by the blend of thoughtful lighting, precise timing, the right gear, and meticulous post‑processing. Armed with these tools, you can transform casual captures into memorable treasures. Start practicing these techniques today, and take your pet photography to a professional level with every click.
Frequently Asked Questions
Q1. How can I keep my small pet calm during a photo session?
Using familiar scents, soft talking, and a routine helps reduce anxiety. Allow your pet to explore the space before shooting, and reward with treats after each successful shot.
Q2. Is it necessary to use a wide‑angle lens for pet photography?
Not always. A prime lens with a moderate focal length (35mm–50mm) delivers natural perspective while helping maintain focus on the pet’s eyes.
Q3. How do I edit photos if I’m new to Photoshop or Lightroom?
Start with preset filters or the “Basic” panel. Adjust exposure, white balance, and contrast, then fine‑tune with selective sharpening and noise reduction.
Q4. What safety precautions should I take when photographing a small dog near water?
Wear non‑slip footwear and secure the camera with a strap. Ensure the dog is on a leash and supervised; never leave a pet unattended near bodies of water during a shoot.
Q5. Can I use my phone to photograph my pet like a professional?
Yes—modern smartphones have excellent cameras. Use manual mode apps, stabilize with a tripod, and apply basic edits to achieve high quality results.