Pet Portrait Wall Ideas
Bringing your beloved companion into the décor of your home is a heartfelt way to celebrate the companionship you share. A well‑crafted Pet Portrait wall transforms ordinary spaces into personalized galleries that showcase the joy your pet brings to your life. Whether you’re an experienced painter or a novice hobbyist, creating a pet portrait wall is an engaging project that allows you to blend artistry, personal memories, and interior design. This guide will walk you through photo selection, materials, techniques, and layout ideas—all while ensuring your wall becomes a stunning focal point in any room.
Choosing the Right Photo for Your Pet Portrait
The foundation of any successful pet portrait is a clear, emotionally resonant photo. Choose a high‑resolution image that captures your pet’s personality—whether that’s a playful paw stance, a serene gaze, or a quirky expression. Bright natural light often works best, providing balanced tones that will translate well into paint. Avoid heavily cropped shots: instead, aim for a full‑body view or a close‑up that showcases distinctive features like whiskers, ears, or the unique pattern of fur. When editing, keep the background unobtrusive so that the focus remains on your pet.
Materials You Need for a DIY Pet Portrait
Gathering the right supplies is essential for a smooth painting experience. Below is a concise table listing core materials; feel free to adapt the quantities based on canvas size and desired detail.
| Item | Description |
|---|---|
| Canvas | 12×16 inches for small portraits, 16×20 inches for larger pieces. |
| Canvas Gesso | Prep the surface and ensure paint adhesion. |
| Primed Acrylic Gesso | Creates a neutral base. |
| High‑Quality Acrylic or Oil Paints | Choose brands listed on Wikipedia for reliability. |
| Brushes | Various sizes, including fine‑tipped for details. |
| Palette | For mixing colors. |
| Palette Knife | Good for blending and texture. |
| Spray Fixative | |
| Framing Kit or Hanging Hardware |
Always store your paints in a cool, dry place to maintain consistency. For pet portrait projects, acrylic paints are often preferred due to their quick drying time and vibrant colors, but oil paints can add depth if you’re comfortable with longer drying periods.
Step‑by‑Step Painting Techniques for Realistic Detail
1. Sketch the Outline
Using a charcoal pencil or light colored pencil, lightly outline the main shapes of the pet. Keep the lines soft so you can correct them later. Pay attention to proportions, using the “four‑point rule” to place key features accurately.
2. Base Color Layer
Apply a thin, even base coat that matches the general hue of the pet’s fur. Blend gradually from the darker to lighter tones, using a wet‑on‑wet technique for seamless transitions. This layer serves as a foundation for all subsequent detailing.
3. Gradational Shading
Introduce subtle gradients to indicate light and shadow. Observe the direction of your light source—common photography light often comes from the left or right side. Use slightly darker shades along the back and lighter washes near the front.
4. Texture and Fine Details
Utilize a fine brush or a palette knife to paint distinctive textures: whiskers, fur tufts, or feathered ears. Spot colors for the eyes—most natural pet eyes reflect a mix of green, blue, amber, or hazel. A touch of white for highlights brings life to the pupil without losing realism.
5. Varnish and Frame
Once the paint is fully dry, apply a clear acrylic varnish to protect your portrait from dust and UV exposure. Frame in a minimalist style that complements your décor—black matting often enhances crispness, whereas warm wood frames add a cozy vibe.
Creative Wall Layouts to Showcase Multiple Pet Portraits
After completing your portrait, consider how best to display it. Below are three layout styles that work beautifully in living rooms, bedrooms, or foyer areas.
- Single Statement Piece – Hang the portrait at eye level on a prominent wall. Pair it with a simple frame and the rest of the room remains uncluttered, making the portrait the centerpiece.
- Gallery Wall Collage – Combine several pet portraits, perhaps different pets or varying poses, with other art pieces like landscapes or abstract prints. Use uniform frames for cohesion.
- Three‑Piece Trio – Create a balanced visual by painting three matching portraits and aligning them horizontally or vertically. This works well above a fireplace or sofa.
When arranging multiple pieces, keep spacing consistent—about 6–8 inches between frames for a tidy look. Use a level or laser to ensure all frames sit straight; a good rule of thumb is the top edge of the floor to the bottom of the frame should be even.
Pet Portrait Ideas for Different Pet Types
Each species brings unique characteristics that can inspire distinct portrait styles. Here’s a quick guide tailored to common pets:
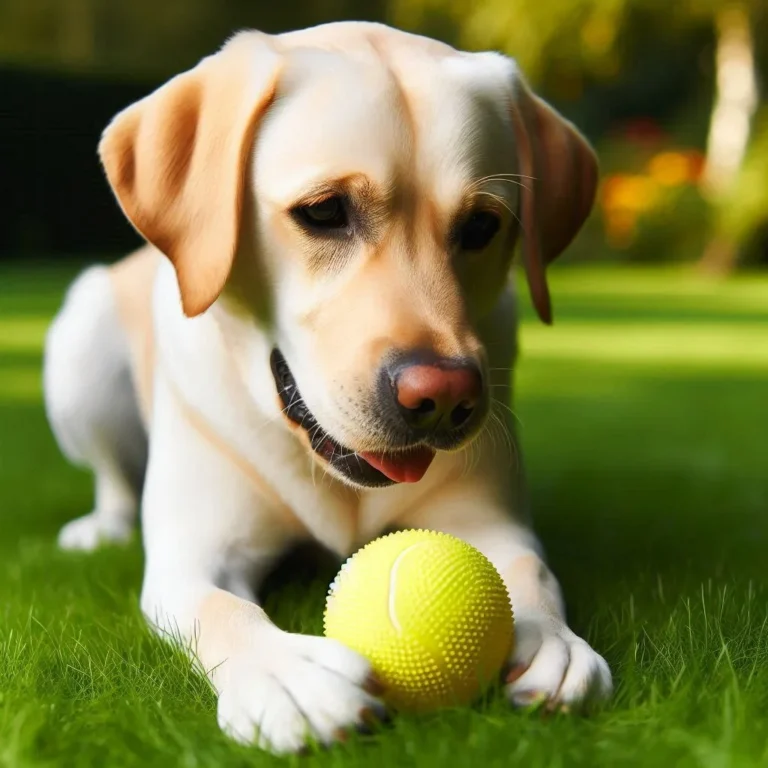
- Dogs – Focus on their expressive eyes and distinct ear shapes. Paws captured mid‑step can convey motion.
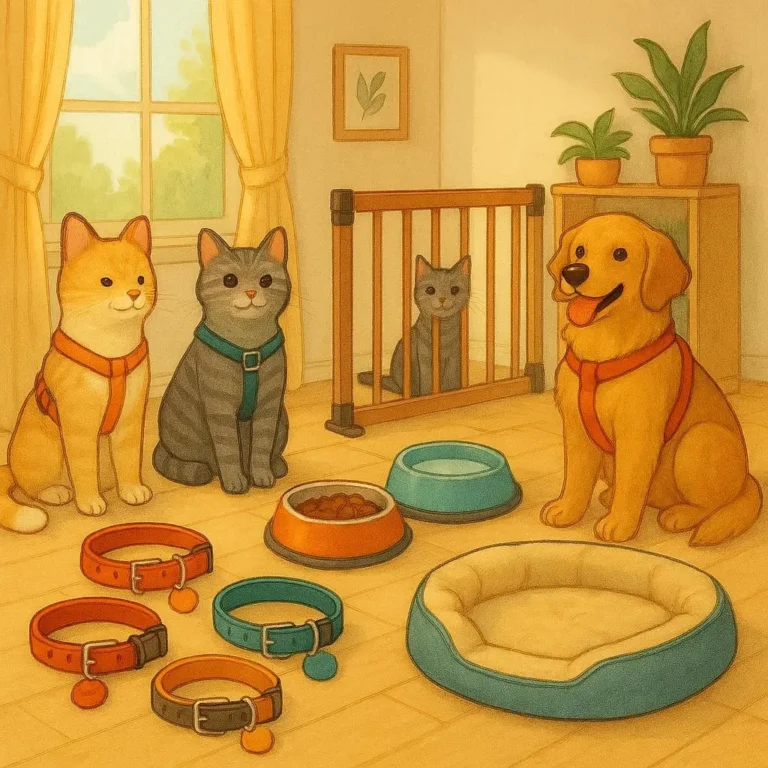
- Cats – Highlight the elegance of their tail and the subtle shading around whiskers.
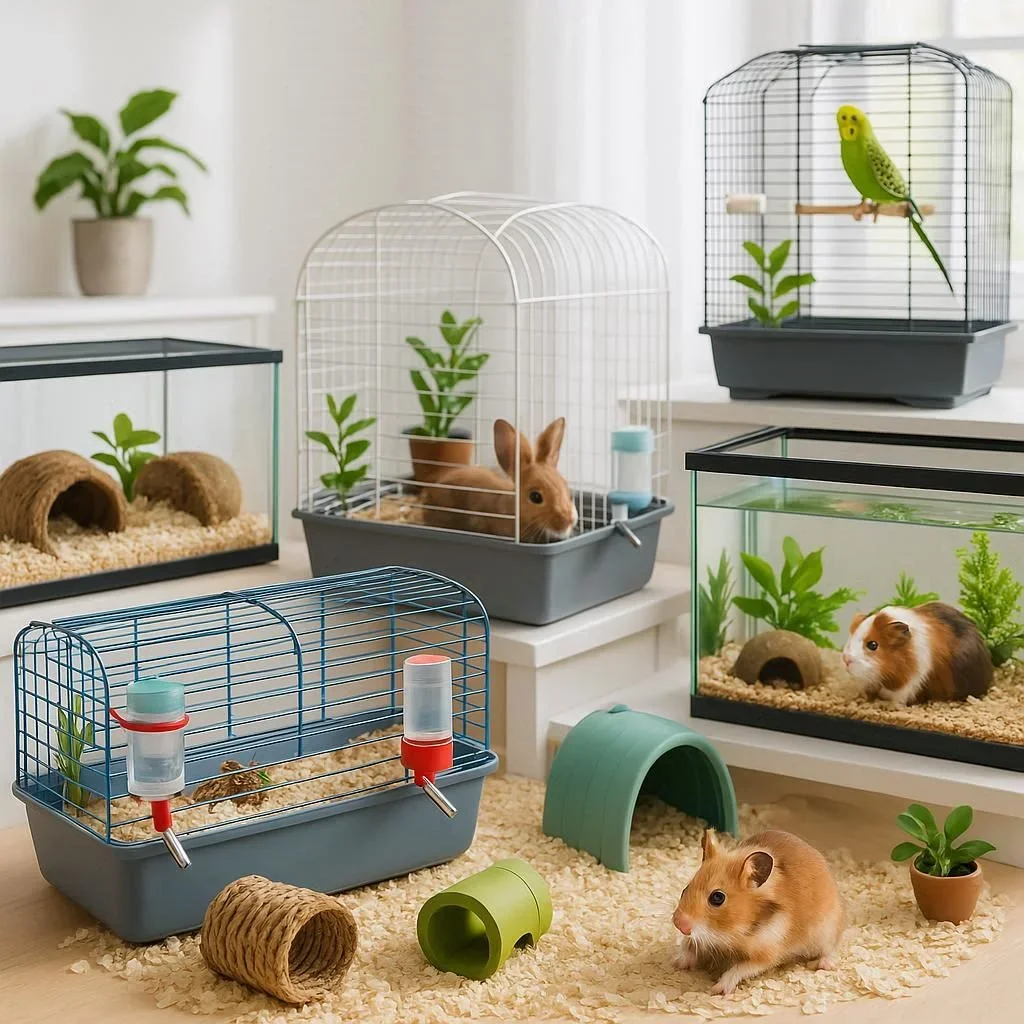
- Birds – Show feathers in their natural plume, using fine lines for texture.
- Reptiles – Emphasize scale patterns with a high‑contrast palette.
- Aquatic Pets – Explore reflective surfaces and color gradients.
For each animal, choose a posture that best captures their typical temperament: a playful dog, a curious kitten, or a regal bird. The more authentic the pose, the more resonant the final piece.
Incorporating Pet Portraits into Home Décor Trends
Modern interior design favors minimalism yet values personalized touches. Pet portraits fit seamlessly within current trends such as:
- Scandinavian Minimalism – Pair a clean, white wall with a finely detailed portrait in a simple black frame.
- Industrial Chic – Mount the portrait directly on raw brick or canvas over a bare concrete backdrop.
- Coastal Vibes – Use soft blues and whites in the portrait’s color scheme, complementing beachy décor.
- Rustic Farmhouse – Frame the artwork in reclaimed wood or a mason jar hanging system for a playful twist.
These combinations elevate a pet portrait beyond a novelty; they become a conversation starter that reflects your individual style.
Tips for Maintaining Your Pet Portrait Over Time
To preserve the vibrancy and longevity of your portrait, keep these simple practices in mind:
- Control Light Exposure – Limit direct sunlight; use UV‑protective film on windows when possible.
- Avoid Dust Accumulation – Clean surrounding walls weekly; dust the frame gently.
- Reapply Varnish as Needed – If touch‑up becomes necessary after a decade, apply fresh varnish to restore sheen.
- Repair Minor Damages – For small scratches, use a matching acrylic paint spatter technique.
By adhering to these care guidelines, your pet portrait will remain a lasting tribute for years to come.
Conclusion: Celebrate Your Furry Friend with a Stunning Pet Portrait Wall
Creating a Pet Portrait wall is more than a decorative project—it’s a lasting celebration of the companion that has enriched your life. With the right photo, quality materials, disciplined technique, and thoughtful wall layout, you can transform any space into a personalized gallery that honors your pet’s spirit. Whether you opt for a bold single statement piece or an elegant gallery wall, the result will be a striking visual that resonates with both aesthetic appeal and heartfelt sentiment. Don’t wait—start your DIY pet portrait wall today and let your beloved pet shine in every corner of your home.
Frequently Asked Questions
Q1. How do I choose the best photo for my pet portrait?
Select a high‑resolution image that captures your pet’s personality, with natural lighting and a background that doesn’t distract. Aim for a pose that showcases expressive eyes and key features like whiskers or distinctive markings.
Q2. What type of paint is best for a pet portrait?
Acrylic paints are ideal for beginners due to their quick drying time and vibrant colors, but oil paints add depth if you’re willing to accommodate longer drying periods. Both options, when mixed appropriately, can achieve realistic results.
Q3. How can I keep my pet portrait looking fresh over time?
Protect the artwork with a clear varnish, avoid direct sunlight, and clean the surrounding wall periodically. If a touch‑up becomes necessary after extended use, a fresh coat of varnish can restore its original sheen.
Q4. Can I display multiple pet portraits together?
Absolutely. Arranging them as a gallery wall or a trio creates visual interest. Keep spacing uniform and use a level for alignment to achieve a balanced look.
Q5. What framing options complement a pet portrait wall?
Minimalist black or white frames work well with Scandinavian minimalism, while reclaimed wood frames suit rustic farmhouse style. Choose a frame that supports the overall décor theme of your space.