Pet Photoshoot Spots Guide
Every pet owner knows the excitement that follows a flawless photo of their furry friend. A pet photoshoot in the comfort of your own home can capture those quirky expressions and playful moments that social media craves. The goal is to create a setting that highlights your pet’s personality while keeping them safe and relaxed. With the right spot and a few photography hacks, you can turn any room into a professional studio. Let’s explore how to find the perfect spot for pet photoshoots at home.
Choosing the Right Room
The first decision is selecting a room that offers plenty of space and control. A living room with large windows allows natural light to spill in, which is essential for Photography enthusiasts alike. Avoid rooms with drafty vents or uneven floor surfaces that could distract from the shot. A carpeted area also helps keep your pet’s paws from slipping during poses.
Wall color matters; neutral or light walls prevent color cast on your pet’s coat. If you can change your ceiling paint, a soft gray or off‑white makes for a subtle backdrop that keeps focus on the animal. Additionally, consider how pets might react to the room’s layout—furniture placement should allow easy movement and prevent stressful tight corners. A room with minimal clutter encourages both you and your pet to relax.
Accessibility for the photographer is just as vital as the pet’s comfort. Place chairs or a tripod within reach of a stable surface that does not obscure the view. A room with a wide door makes bringing a camera bag in and out practical. Finally, think about acoustics; rooms with carpeting or soft furnishings reduce echo, a plus if you’re recording a video testimonial.
Pet behavior can dramatically shift based on surroundings. A room that smells familiar—perhaps with an old blanket nearby—helps soothe anxious animals. Keep any enticing smells away from the shoot area to avoid nose distractions. Providing a safe, calm environment is the foundation of any great pet photoshoot.
Mastering Natural Light
Natural light often delivers the richest tones and the most flattering shadows for animal portraits. Position your pet near a large window, allowing daylight to illuminate the subject without harsh direct glare. Soft midday light works best—try to shoot around 10 a.m. to 2 p.m., when daylight is steady yet not overly intense.
When the light is too bright, add a sheer curtain or diffuser material to mellow the intensity. A white sheet or a specialized photographic diffuser creates even, flattering light that reduces shadows on the face. This trick is especially useful when shooting inside busy homes with bright sunrooms.
Use the room’s existing fixtures sparingly; lamps can complement the scene but may introduce accidental shadows. A low‑profile lamp set to indirect light enhances depth without dominating the frame. Keep the lamp’s bulb type low‑color temperature to avoid unwanted color casts on fur.
If natural light falls short, consider a softbox or ring light placed at a 45‑degree angle. These artificial sources, while not as forgiving as daylight, provide consistent washless illumination. Always test different angles before the main session to gauge the ideal light source for your pet’s coat type.
White balance consistency across shots is essential—adjust your camera’s temperature setting based on the lighting quality. A consistent white balance maintains color accuracy across a series of photos. It also speeds up post‑processing by reducing the need for color correction later.
Crafting the Perfect Background
A background should complement the palette of your pet’s fur without competing for attention. Solid, neutral colors like beige, olive, or soft gray work well for most coats. They also help draw focus onto the face, ensuring the subject is the star of the shoot.
When a plain wall or backdrop isn’t available, you can repurpose a clean, flat sheet or canvas. Hang it with a tension rod to keep smooth and wrinkle‑free. Avoid busy patterns or textures that could distract from the animal’s eyes or expression.
DIY backgrounds can add personality—think a canvas with a subtle texture or a tasteful wallpaper strip. Ensure the background material is safe and non‑toxic, especially if your pet likes to chew or lick surfaces. Natural elements like a pinecone or a woven sisal mat can sometimes work, provided the pet won’t ingest them.
Always keep the background at least one shoe‑length away from your pet. This distance reduces the chance of shadow overlap and keeps the focus distinctly on the creature. A buffer zone also protects the backdrop from accidental scuffs or paw prints.
For themed shots, consider seasonal props integrated behind a neutral backdrop. A small basket of autumn leaves or a handful of artificial snow can add depth and interest. Keep props lightweight and secure to avoid accidents during the session.
Selecting Pet‑Friendly Props
Props can elevate a portrait by adding context—cushions, toys, or a playful hat can hint at your pet’s personality. However, avoid anything with sharp edges or small parts that could choke a curious animal. Choose smooth, stable items that stay in place during a photo.
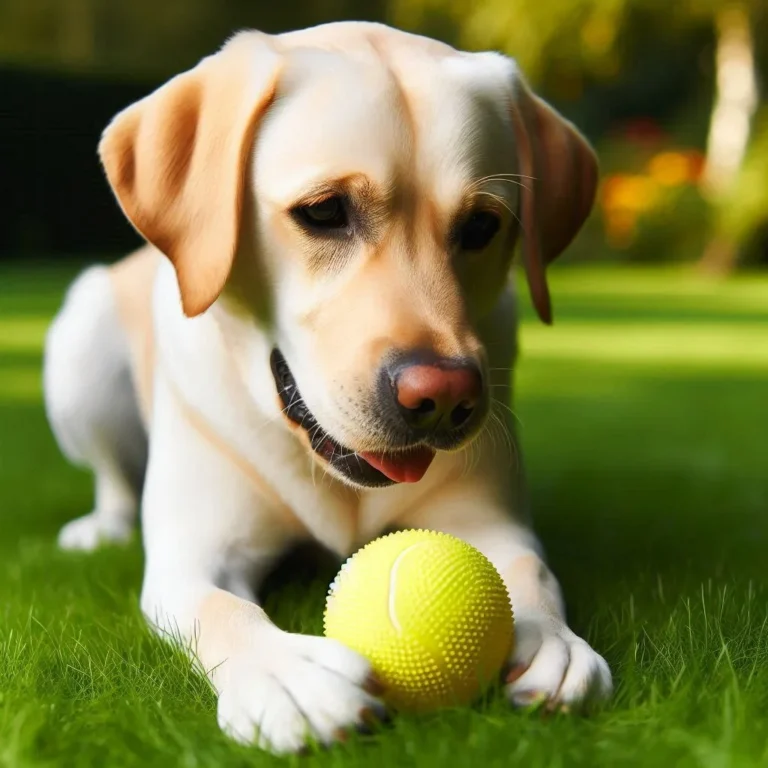
For puppies or small dogs, a classic red or blue ball works well as a focal point. The bright color contrasts nicely against most fur shades and encourages the pet to engage naturally. Keep the ball ready in your hand to prompt a playful look or a relaxed pose.
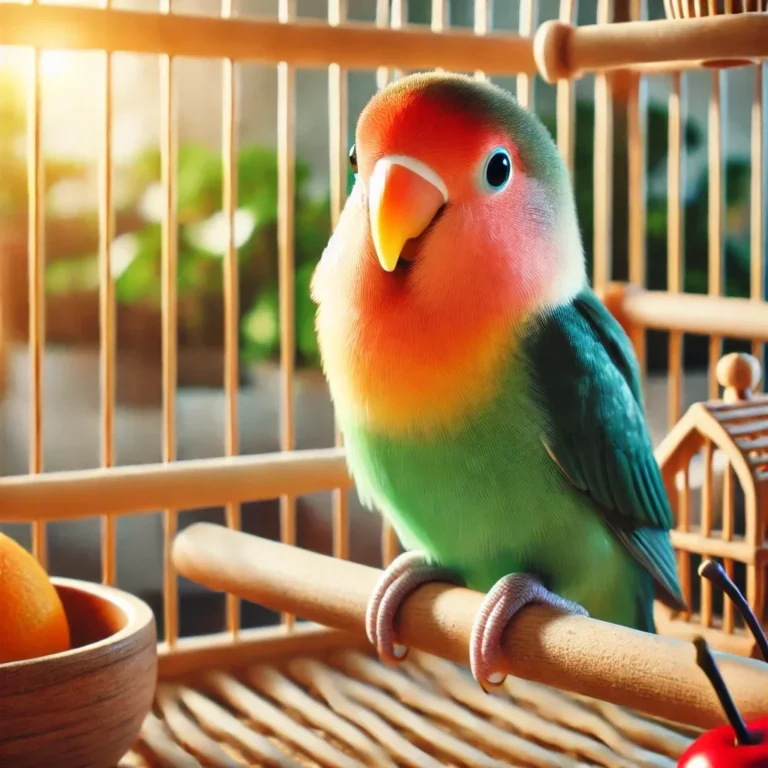
Consider props that reflect your pet’s habits—crickets for a bird, a tennis ball for a golden retriever, or a plush blanket for a cat. These familiar items encourage authenticity and reduce the need for excessive coaxing. Remember to observe the pet’s reactions and adjust if they show signs of discomfort.
Safety first: avoid glitter, loose strings, or any loose materials that could be chewed or inhaled. A quick check each time you set up the scene ensures nothing is lost or misplaced. When in doubt, remove the prop and try a simpler approach.
Props should enhance but never dominate the photo. Use them sparingly, and keep them small relative to the pet’s size. This ensures the background and lighting remain the primary focus of the composition.
Positioning for the Perfect Shot
Pet comfort is paramount—start by having your pet in a relaxed state. If your dog prefers belly rubs, incorporate a quick massage before the camera starts rolling. A calm, engaged animal makes for a more compelling image.
Eye level is crucial: aim to match the camera height with the pet’s eye line. This creates a natural, intuitive perspective that feels engaging to viewers. A slightly higher angle can emphasize the animal’s face, perfect for portraits.
Experiment with multiple angles: a side profile, a front view, or a playful over‑the‑shoulder shot. Each frame offers a unique narrative—try a “hero shot” with the pet’s gaze directed at the camera, or a candid side view that captures their walk. Variation keeps the session dynamic and provides you with versatile image options.
Timing matters; observe when your pet typically looks most alert. For many dogs, early morning or late evening during a quiet walk can produce vibrant, genuine expressions. For cats, after a nap or during a play burst, you’ll capture the most natural moods.
Use a burst mode setting to capture rapid movements—especially useful for energetic pups. The first click often captures the perfect expression. Always review a quick preview to adjust lighting or pet positioning in real time.
When you’re ready to deliver, remember to keep your pet’s enthusiasm high. Praise, treats, or a quick game of fetch can maintain the energy needed for final shots. A relaxed pup or cat will thank you with a lasting smile.
Once you gather a selection of shots, choose the one that best conveys your pet’s unique character. A balanced composition with soft lighting, a neutral background, and a relaxed subject will always stand out. With practice, your home studio will become a go‑to for capturing your pet’s best moments.
Ready to turn your living room into a professional pet photoshoot studio? Find the perfect spot, adjust your lighting, and let your pet’s personality shine. Book a session today and capture memories that last a lifetime.
Frequently Asked Questions
Q1. What is the best time of day for home pet photoshoots?
The optimal times are between 10 a.m. and 2 p.m. when daylight is bright but not harsh, providing even, diffused illumination that flatters most fur colors. If natural light is limited, consider a softbox or ring light to replicate these conditions.
Q2. How can I keep my cat calm during a photo session?
Use familiar scents or a favorite blanket near the shooting area. Keep the environment quiet, and give your cat the choice to come and go. Small treats or a gentle, quick play session can help maintain a relaxed mood.
Q3. Are there special camera settings recommended for pet photography?
Use a wide aperture (f/2.8–f/5.6) to blur the background and keep the focus on your pet’s eyes. A moderate ISO (100–400) minimizes noise, while a shutter speed of 1/125 to 1/250 sec captures moving subjects without blur.
Q4. What props should I avoid when photographing dogs?
Avoid small, detachable parts, glitter, or anything easily chewed. Smooth, stable items such as a classic ball or a weighted collar are safer and less distracting. Safety ensures your dog’s well‑being during the shoot.
Q5. How can I maintain consistent lighting across multiple photos?
Set a dedicated lighting setup, such as a softbox or a window with a diffusion curtain. Keep camera settings fixed throughout the session, and review each shot’s exposure quickly to adjust if needed.